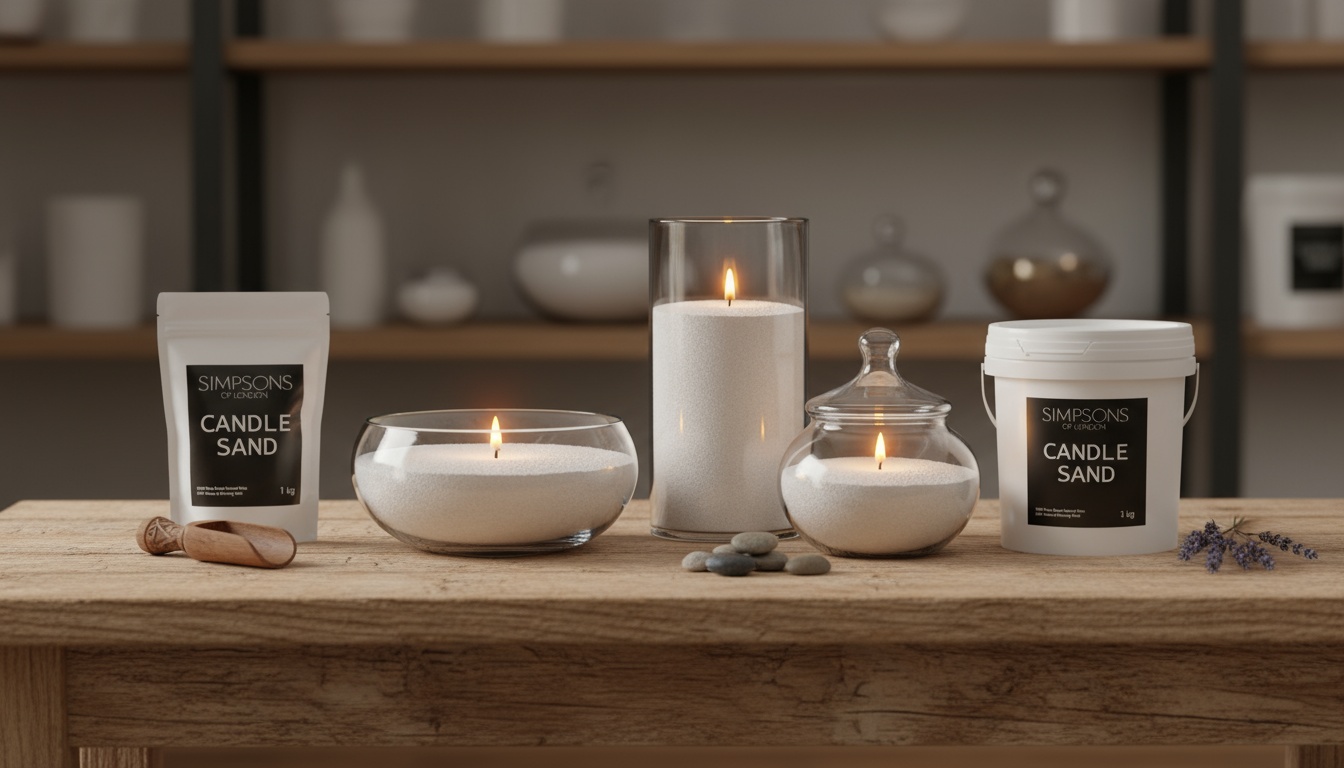
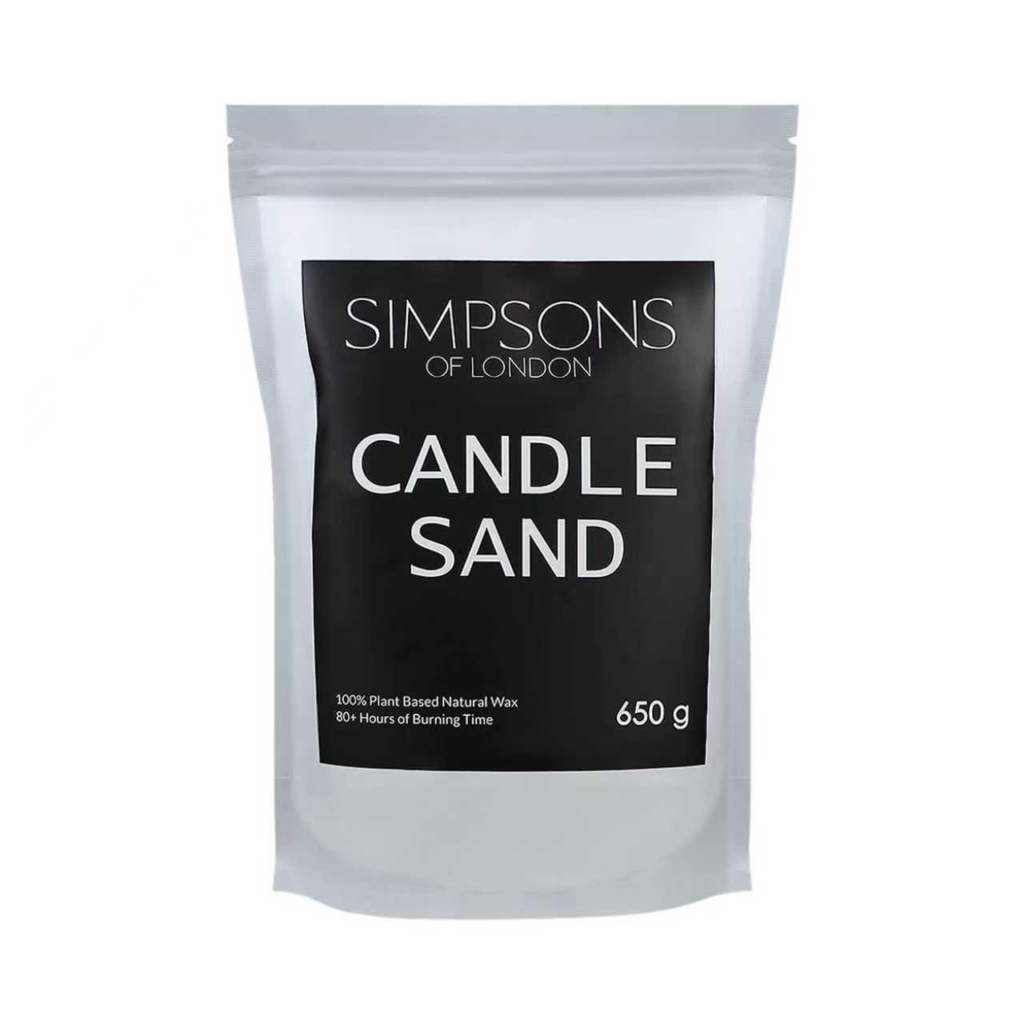
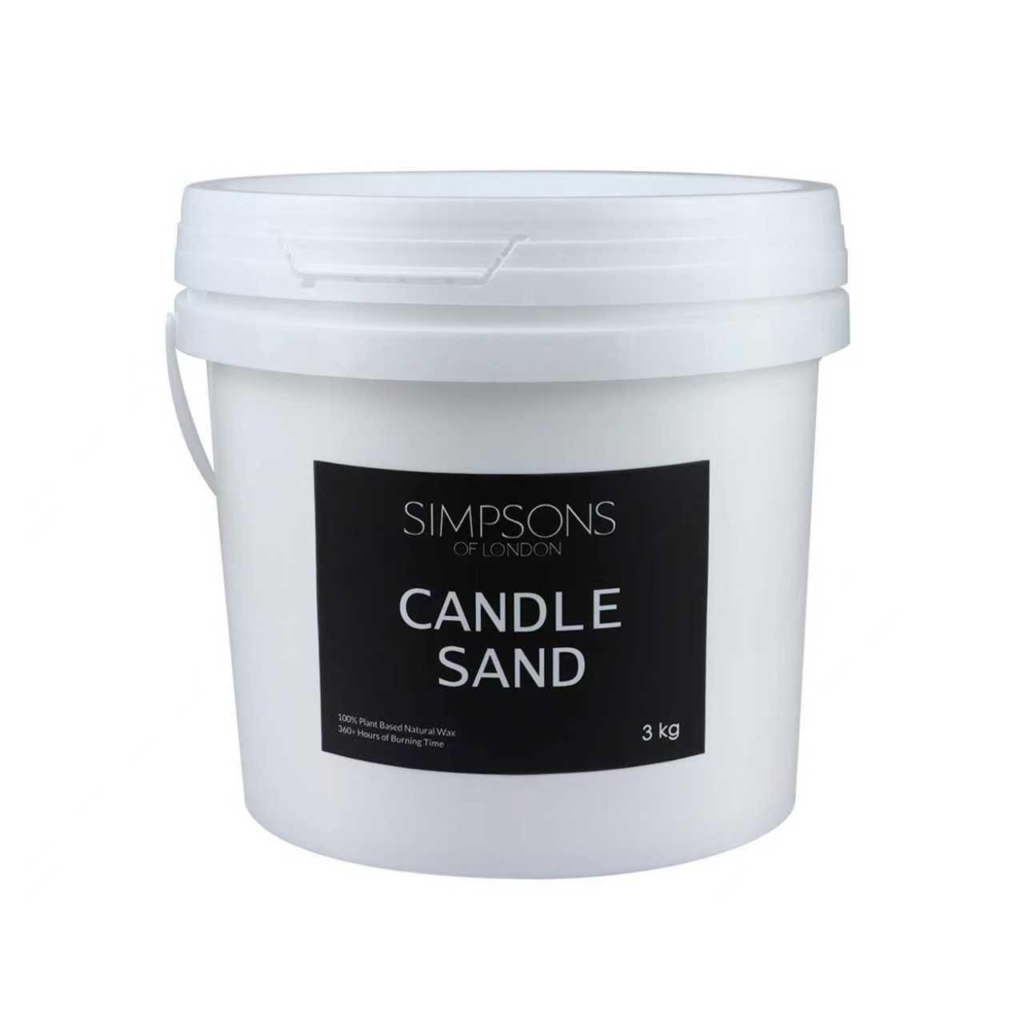
Candle Sand is quickly becoming one of the most exciting and versatile ways to enjoy candles in your home, garden, or special event décor. Unlike traditional poured candles, Candle Sand gives you the freedom to create unique displays in almost any container – from elegant glass bowls to rustic ceramic pots, statement lanterns, or even repurposed vintage vessels. When used in larger containers, Candle Sand becomes not just a source of light, but a stunning design feature.
In this blog, we’ll explore the best ways to use Candle Sand in large vessels and containers, with tips on design, safety, and making the most of this innovative product.
Why Choose Candle Sand for Large Containers?
-
Customisable Design: Create candles of any size, shape, or style by filling your chosen vessel with Candle Sand.
-
Endless Creativity: Layer colours, add decorative stones, shells, or dried flowers around the wick to make a unique centrepiece.
-
Reusable and Sustainable: Simply replace the wick when it burns out and smooth the sand surface – no need to throw away wax.
-
Safe and Stable: In a large vessel, Candle Sand sits securely and evenly, making it perfect for indoor and outdoor use.
Choosing the Right Vessel
When using Candle Sand in a large container, the vessel itself plays a huge role in both style and performance. Here are some popular options:
-
Glass Bowls & Hurricanes: Perfect for showcasing layers of coloured Candle Sand. The transparency lets the texture shine.
-
Lanterns & Metal Containers: Great for outdoor settings, especially when you want to protect the flame from wind.
-
Ceramic & Stoneware Bowls: A stylish option for rustic interiors or modern minimalism.
-
Statement Pieces: Repurpose large vases, wide jars, or even shallow trays for bold decorative displays.
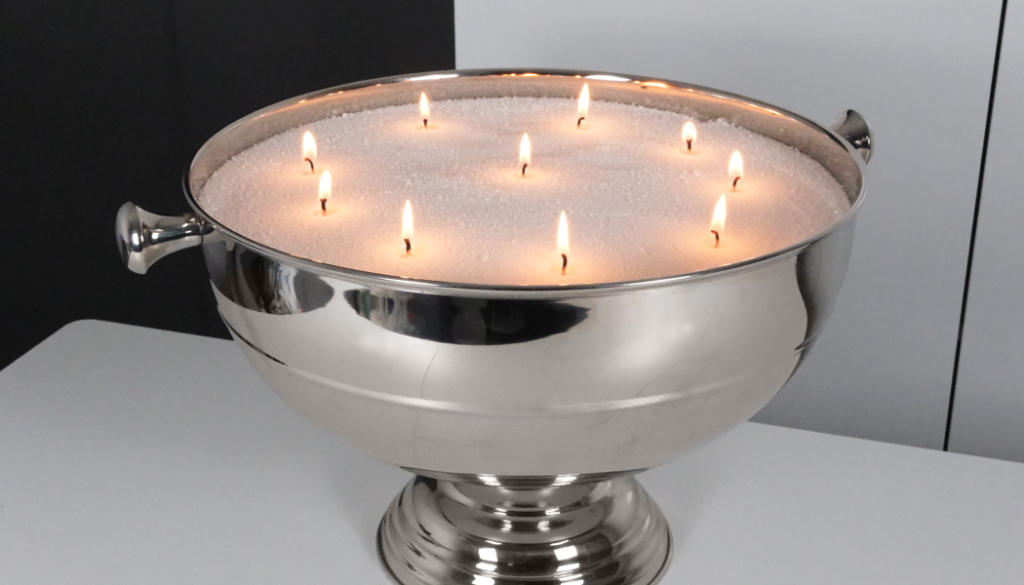
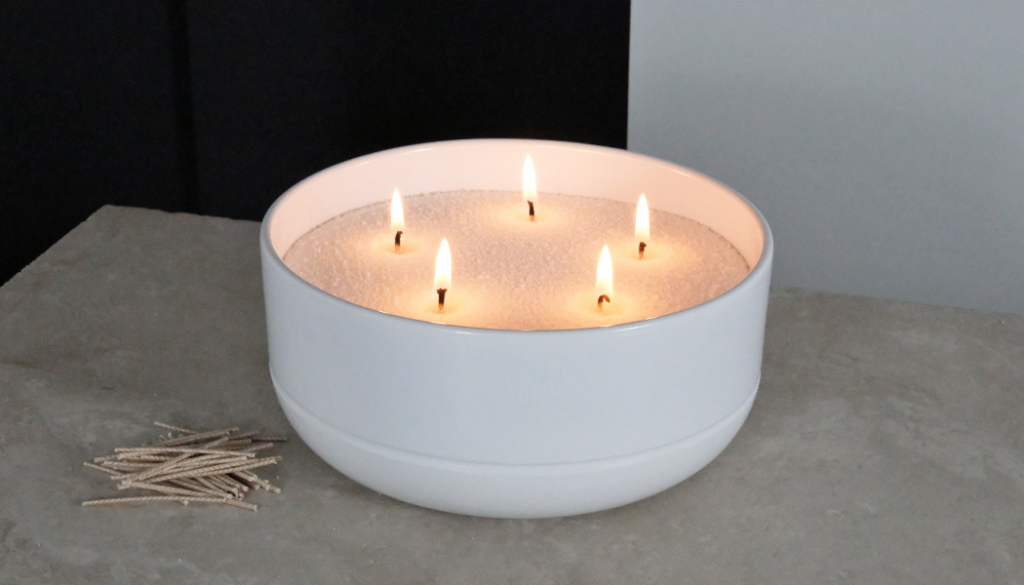
How to Use Candle Sand in Large Vessels
-
Fill Evenly – Add Candle Sand to your chosen container, aiming for at least 5–10cm depth for stability.
-
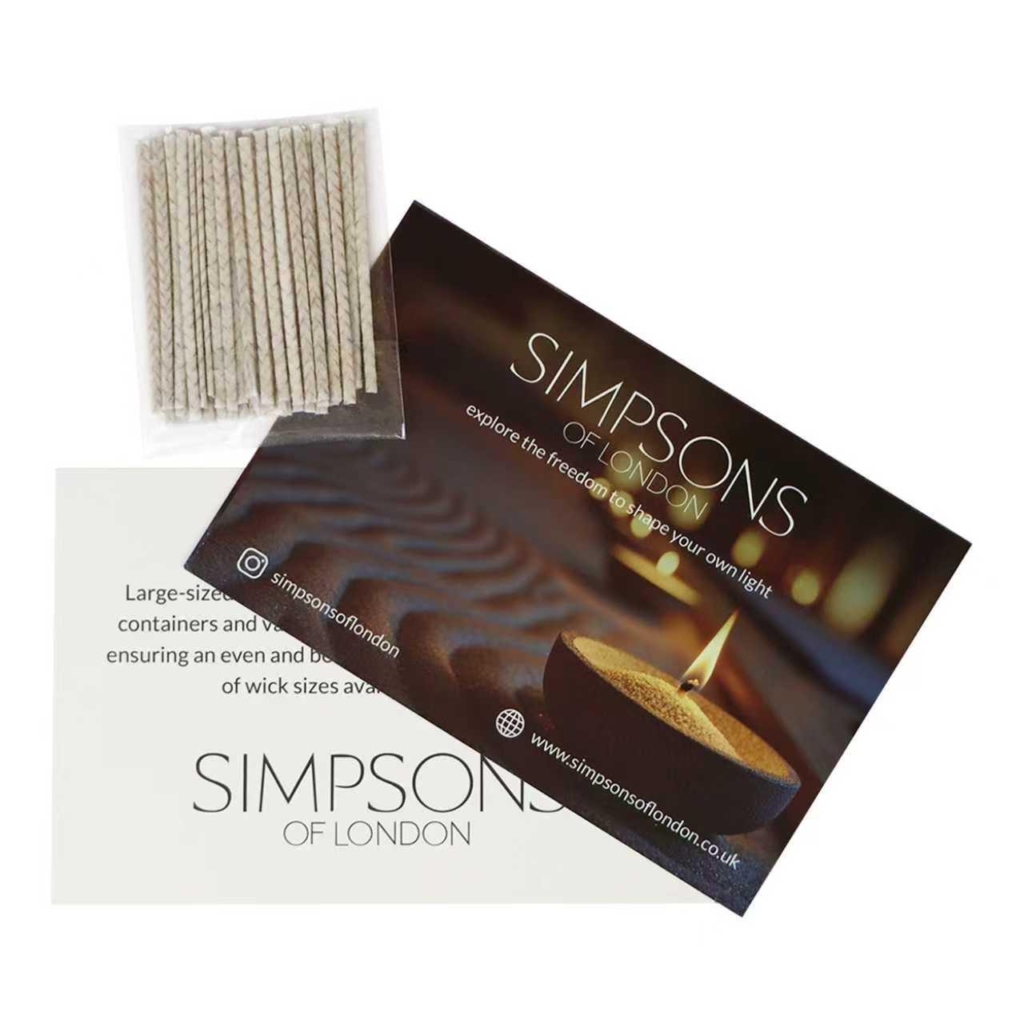
Insert the Wick – Place a special Candle Sand wick into the sand, ensuring it is upright and centred. For larger vessels, consider using two or more wicks for a balanced burn.
-
Level the Surface – Smooth the sand around the wick to create an even top layer. This helps with clean burning.
-
Light & Enjoy – Once lit, the wick will burn down naturally, melting a small pool of sand around it without affecting the rest.
-
Reuse & Refresh – When the wick is finished, simply remove it, smooth over the sand, and insert a new wick.
Styling Ideas for Large Candle Sand Displays
-
Layered Colours: Alternate different shades of Candle Sand for a striking striped effect.
-
Natural Accents: Add pebbles, seashells, or dried flowers around the wick for a seasonal touch.
-
Event Centrepieces: Use wide glass vessels filled with Candle Sand for weddings, dinner parties, or outdoor gatherings.
-
Multi-wick Designs: Place several wicks in a larger bowl to mimic the look of a luxury multi-wick candle.
Safety Tips
-
Always place large vessels on a heat-resistant surface.
-
Do not leave burning candles unattended.
-
Ensure the vessel is sturdy and won’t tip easily.
-
Keep Candle Sand dry – moisture can affect performance.
Final Thoughts
Candle Sand in large vessels opens up endless possibilities for creative, reusable, and beautiful candle displays. Whether you’re hosting an elegant dinner, decorating your garden, or adding a cosy glow to your living room, Candle Sand is the perfect way to make a statement.
Explore our full range of Simpsons of London Candle Sand, wicks, and accessories to start creating your own unique designs today.

About this Blog
Blog Title: The Best Way to Use Candle Sand in Large Vessels and Containers
Blog Author: Mark Watts
Website: www.simpsonsoflondon.co.uk